Installation
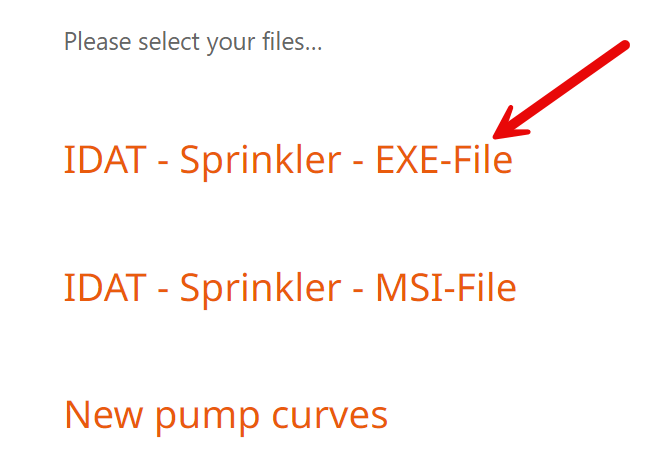
You can download your software from the homepage www.idat.de.
Look also chapter License.
The file must be extracted after the download and placed in a local directory on the computer.
Double-click on the *.exe file:
In first dialog choose your language.
- Start of the installation:
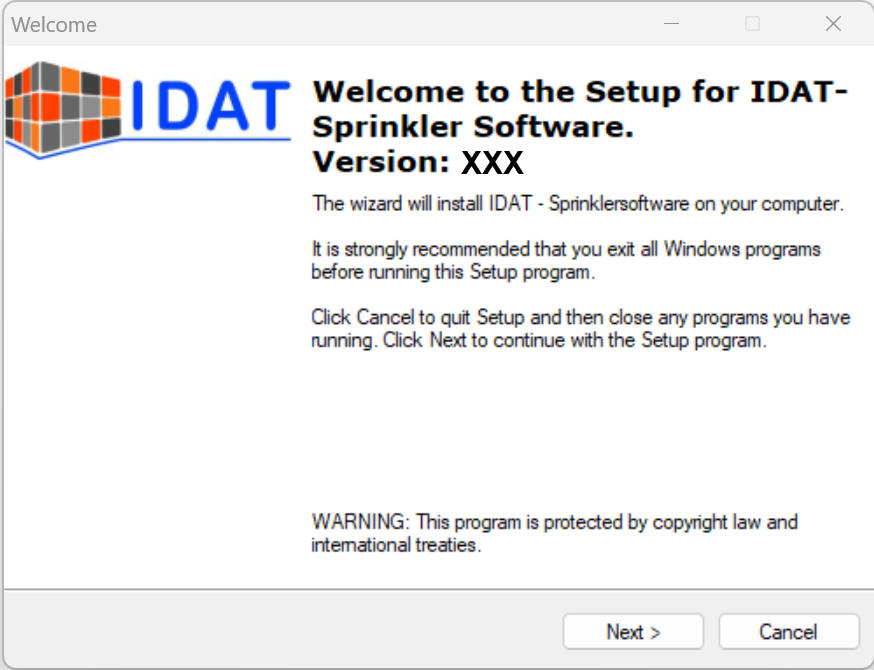
Start window
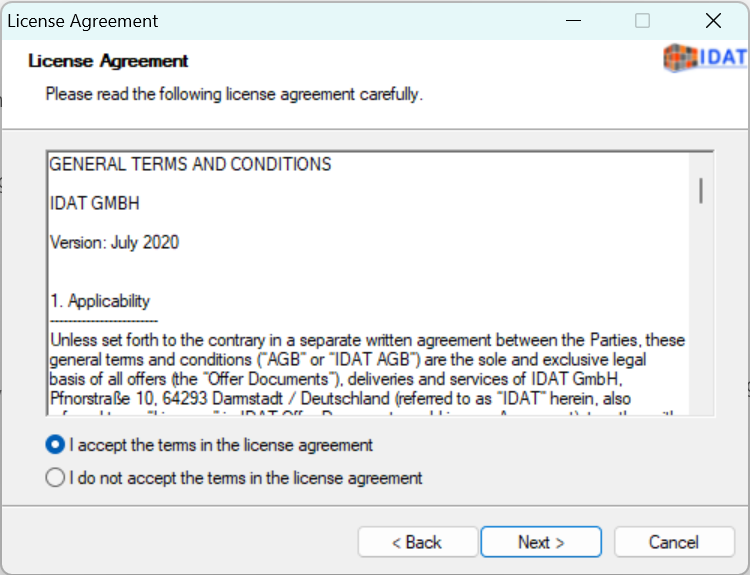
- Confirmation of the license conditions
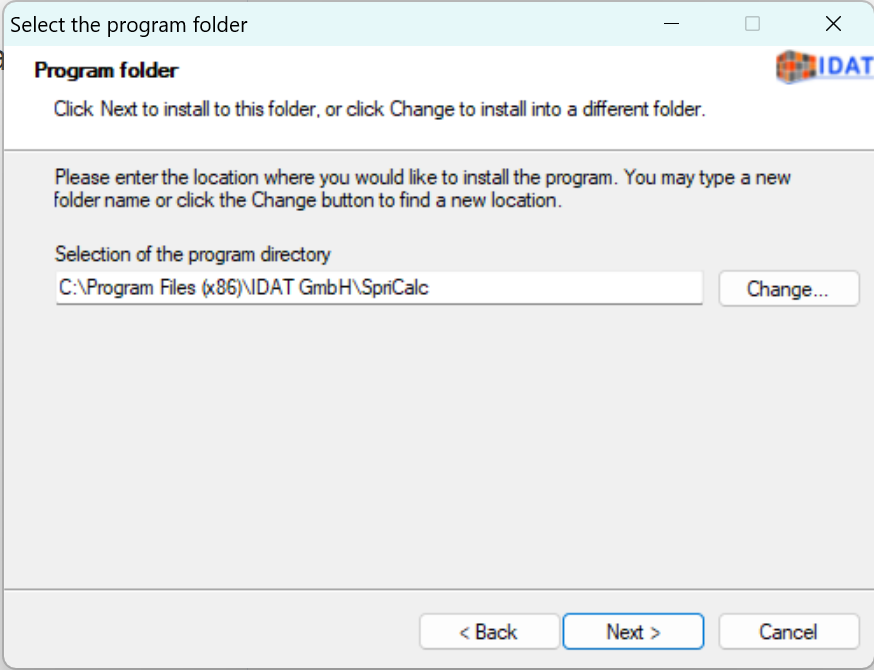
- Specify installation path or accept default path
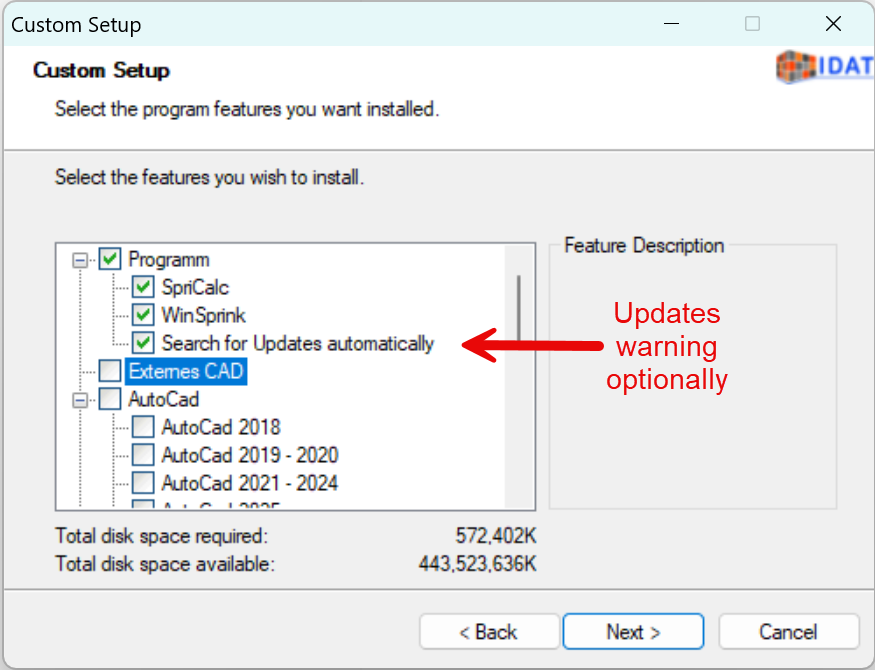
- Define program parts

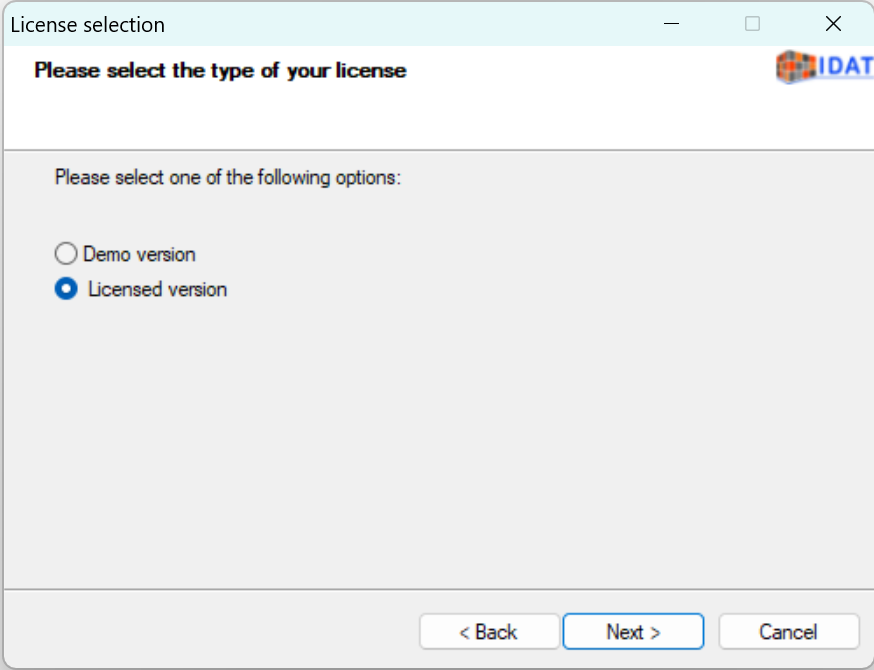
- Selection of licensed version or demo version?
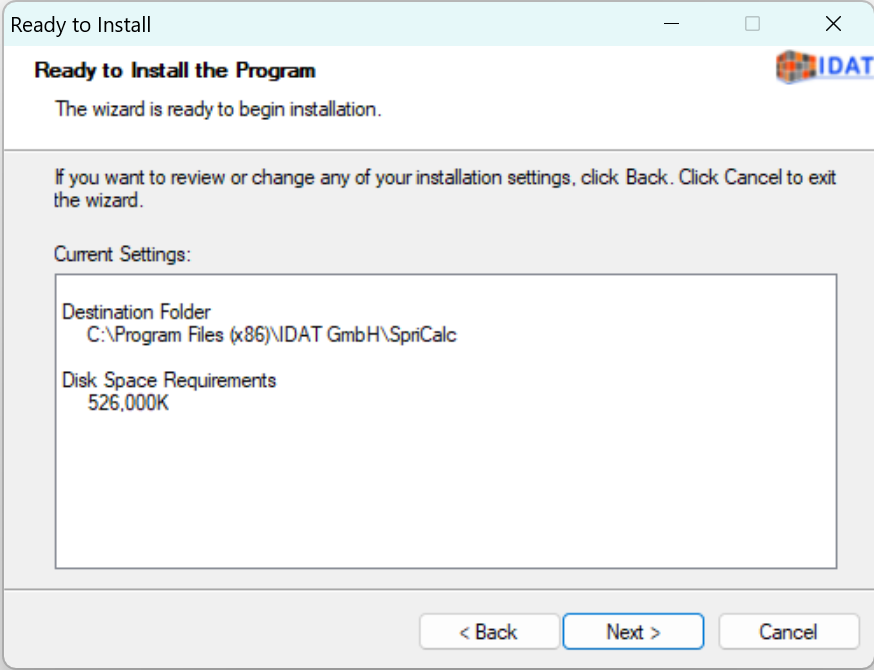
- Installation starts
Note:
The following section is only interesting in case of problems.
To work with SpriCAD® in AutoCAD, the directories must be entered as follows or have already been added automatically during installation.
You can also add the paths manually.
Under "Options" (command: OPTIONS or _OPTIONS) in the "Files" section under "Support File Search Path" (or "Support file search path" for BricsCAD), the installation directory of SpriCalc and the directory in which is SpriCAD is shown here.
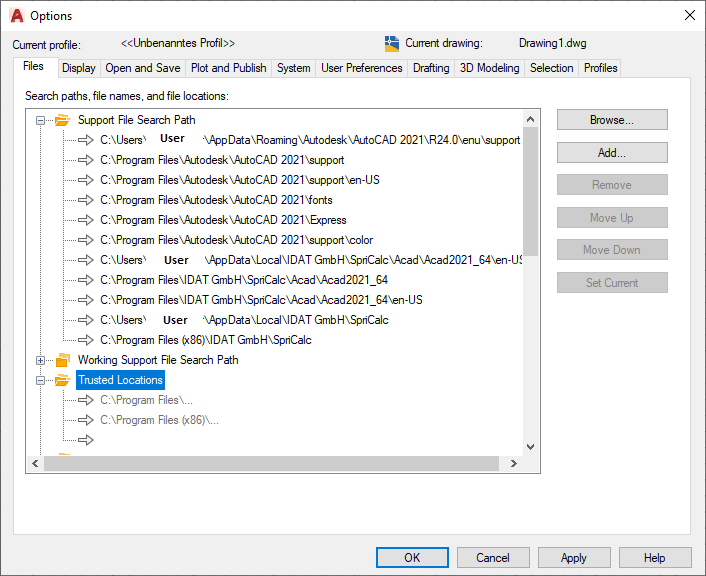
After changes please quit AutoCAD/BricsCAD and restart it again.
The SpriCAD® Ribbon tab and the SpriCAD® Toolbox should appear.
If not, enter the MENULOAD or _MENULOAD command, click on "Browse" and select the
SpriCAD installation directory C:\Users\Username\AppData\Local\IDAT GmbH\SpriCalc\Acad\Acad2021_64\en-US.
Now select the file SpriCAD.cuix and click on "Open".
Then click on "Load". The name SPRICAD appears under "Loaded Customization Groups".
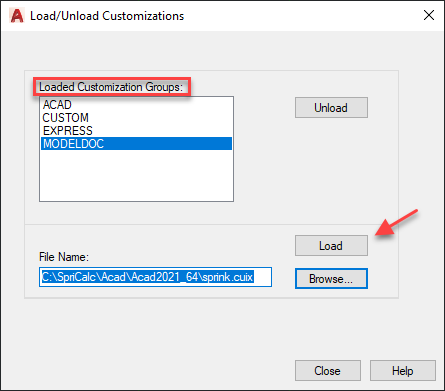
Exit the dialog by "Close"; the SpriCAD® ribbon tab and the SpriCAD® toolbox will appear.
Whether you work with the Ribbon or the toolbox its up to you. Both tools contain identical commands.